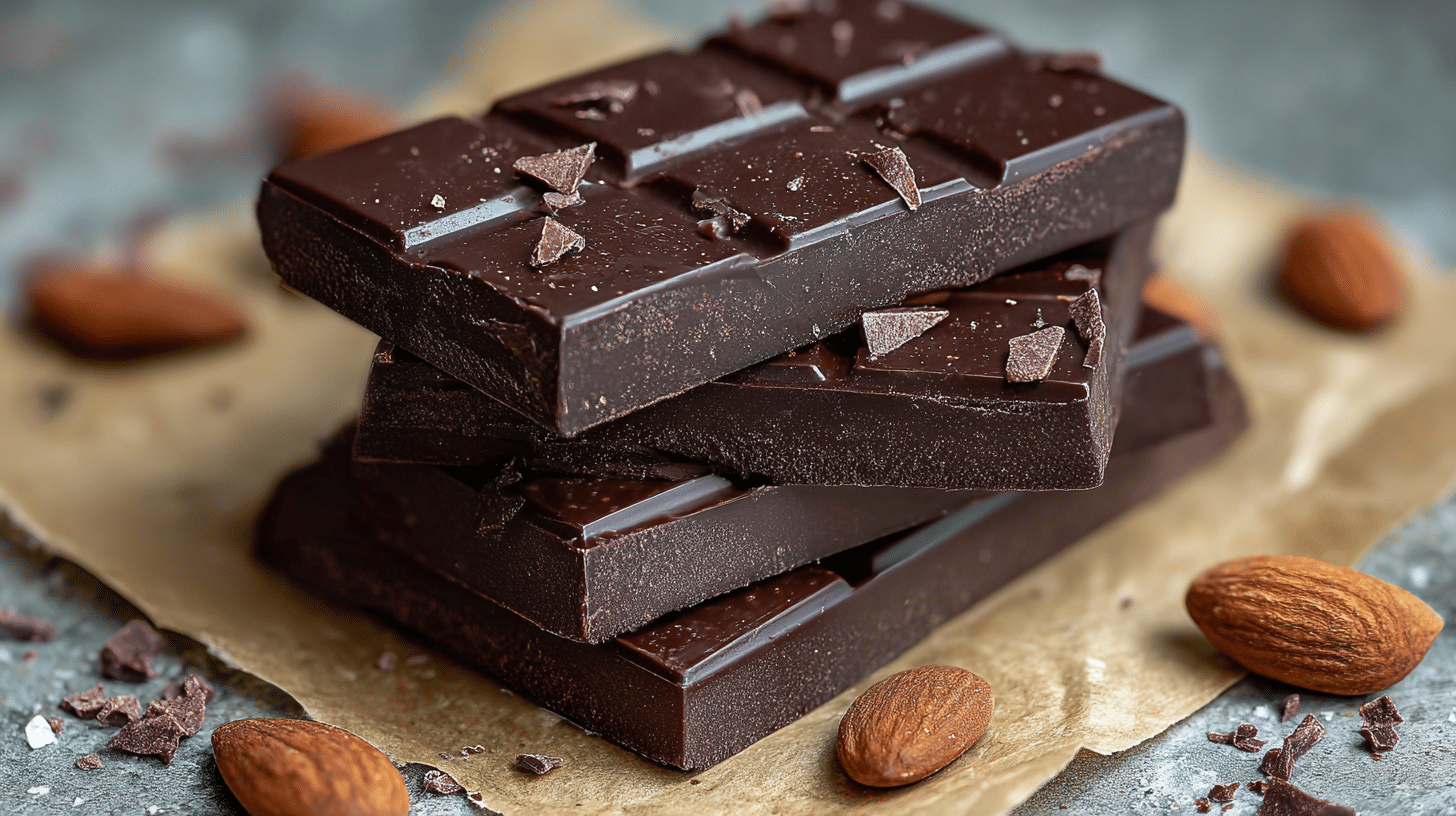
Homemade Chocolate Bars Recipe
Introduction
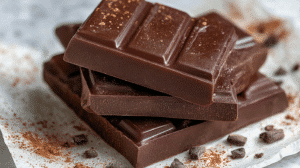
Creating chocolate at home has never been easier or more satisfying. This Homemade Chocolate Bars Recipe lets you craft your favorite chocolate treats from scratch, combining rich cocoa, creamy cocoa butter, and natural sweeteners. Imagine breaking into a bar you made yourself – the aroma, the texture, the deep chocolatey flavor – it’s an experience that elevates simple chocolate into a gourmet delight. Not only will this recipe impress friends and family, but it also gives you control over ingredients, allowing you to customize for dietary needs or flavor preferences.
Whether you’re a seasoned baker or a chocolate enthusiast, this guide provides step-by-step instructions, tips, and variations to help you create perfect, melt-in-your-mouth chocolate bars every time.
Why You’ll Love This Homemade Chocolate Bars Recipe
-
Rich, creamy flavor without artificial additives
-
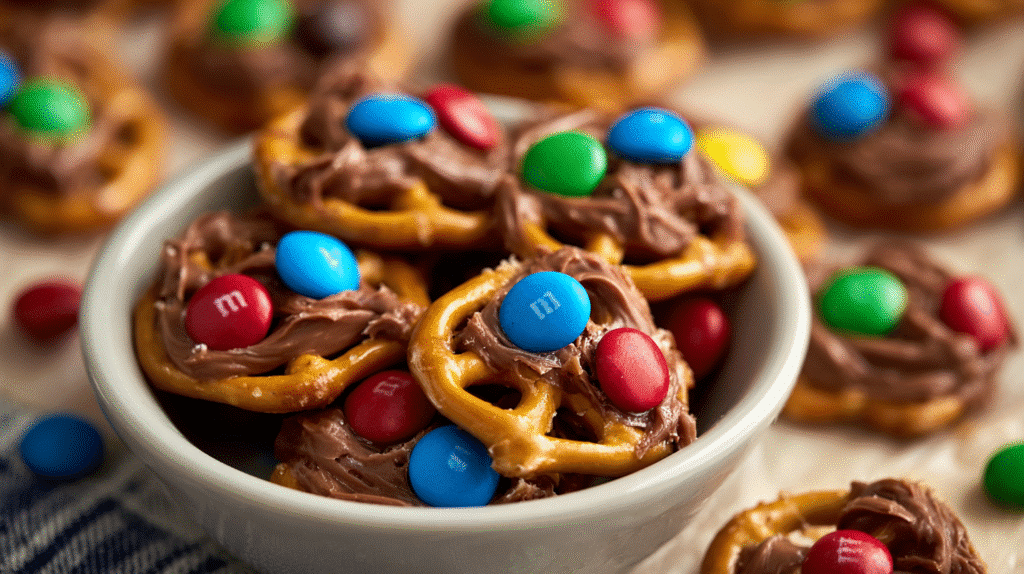
Customizable toppings like nuts, dried fruits, or sea salt
-
Quick and simple preparation with a double boiler or microwave
-
Budget-friendly compared to gourmet store-bought bars
-
Perfect for gifts or celebrations with personalized molds
-
Control over sweetness with sugar or natural sweeteners
-
Allergen-friendly options like vegan or dairy-free bars
-
Fun hands-on experience for families or kids
Ingredients
Chocolate Base
-
1 cup cocoa butter, chopped (high-quality for smooth texture)
-
3/4 cup unsweetened cocoa powder (or cacao powder for raw chocolate)
-
1/4 cup powdered sugar or maple syrup (adjust for sweetness preference)
-
1/2 teaspoon vanilla extract (enhances cocoa flavor)
-
Pinch of salt (balances sweetness and enhances richness)
Optional Add-ins
-
Chopped nuts (almonds, hazelnuts, pistachios)
-
Dried fruit (cranberries, cherries, apricots)
-
Shredded coconut
-
Sea salt or cocoa nibs
Tip: Use organic ingredients for a cleaner, richer chocolate flavor. Powdered sugar creates smooth chocolate, but maple syrup or honey works well for vegan variations.
Step-by-Step Instructions
1. Melt the Cocoa Butter
Use a double boiler or a heatproof bowl over simmering water. Stir continuously while the cocoa butter melts to ensure even heating and prevent burning. Scientific reason: Cocoa butter has a low melting point (~95°F), so gentle heat preserves flavor and texture.
2. Combine Ingredients
Remove from heat and whisk in cocoa powder, sweetener, vanilla, and salt. Mix until smooth. No lumps should remain. Taste the mixture and adjust sweetness if needed.
3. Pour into Molds
Pour the chocolate into silicone molds or a parchment-lined baking dish. Spread evenly for consistent thickness.
4. Add Optional Toppings
Sprinkle nuts, dried fruits, or coconut on top. Gently press them to adhere. Tip: Toast nuts lightly to enhance flavor.
5. Chill to Set
Refrigerate 1–2 hours until firm. Pro Tip: For shinier chocolate, temper using the seeding method before pouring into molds.
6. Unmold or Slice
Carefully pop chocolate bars out of silicone molds or cut from a baking dish. Serve immediately or store.
7. Store Properly
Keep in an airtight container. Room temperature for soft bars or fridge for firmer texture. Avoid humidity to prevent blooming (white streaks from cocoa butter separating).
Pro Tips & Expert Advice
How do you make chocolate bars at home without a mold?
Use a parchment-lined baking dish. Pour and chill as usual, then cut into bars using a sharp knife.
Can I make this recipe vegan?
Yes! Use maple syrup or agave instead of powdered sugar (ensure sugar is vegan). Cocoa butter is naturally plant-based.
How long do homemade chocolate bars last?
Stored in an airtight container at room temperature, bars last up to 2 weeks. Refrigeration extends shelf life to 1 month.
How to avoid grainy chocolate?
Ensure cocoa butter is fully melted and whisk cocoa powder thoroughly. Low heat prevents crystallization.
Best Ways to Serve Your Chocolate Bars
-
Pair with fresh berries for a luxurious dessert
-
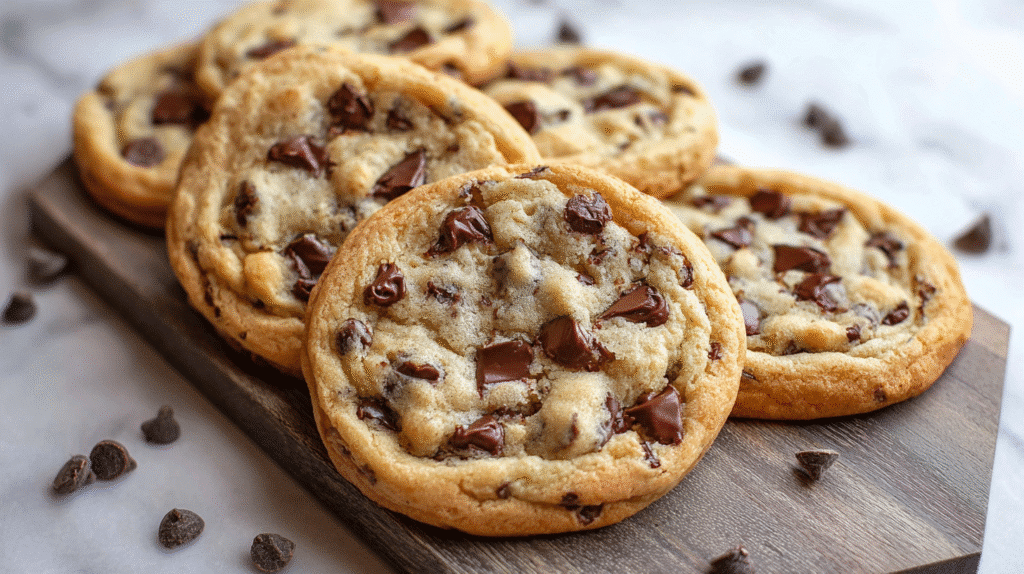
Break into chunks and sprinkle over ice cream
-
Gift in decorative boxes for holidays or birthdays
-
Use as a base for homemade chocolate bark or truffles
Nutrition (Per Serving – 1 Bar, Approx. 50g)
-
Calories: 250
-
Fat: 20g (Saturated 12g)
-
Carbohydrates: 18g
-
Sugars: 14g
-
Protein: 3g
-
Fiber: 3g
Storage & Leftovers
-
Room Temperature: Keep in an airtight container for 1–2 weeks.
-
Refrigerator: Extends freshness up to 1 month; avoid moisture.
-
Freezer: Freeze individually wrapped bars for up to 3 months. Thaw in fridge before serving.
Tip: Avoid strong-smelling foods in storage to prevent chocolate from absorbing odors.
Variations
-
Vegan Chocolate Bars: Replace powdered sugar with maple syrup; add coconut cream for creaminess
-
Nutty Chocolate Bars: Fold in roasted almonds or hazelnuts
-
Fruit-Infused Bars: Mix in dried cherries, cranberries, or orange zest
-
Spiced Chocolate Bars: Add cinnamon, chili, or cardamom for a unique twist
-
Decadent Dessert Bars: Layer with caramel or peanut butter before setting
FAQs
Q: Can I use raw cacao instead of cocoa powder?
A: Absolutely! Raw cacao gives a richer, slightly bitter flavor and preserves antioxidants.
Q: Can I temper chocolate at home?
A: Yes. Tempering improves shine and snap. Use the seeding method or microwave in short intervals.
Q: How do I prevent chocolate bloom?
A: Store chocolate in a cool, dry place. Avoid humidity and sudden temperature changes.
Q: Can I use alternative sweeteners?
A: Maple syrup, agave, or coconut sugar works. Adjust liquid content if needed.
Q: Is this recipe kid-friendly?
A: Yes! Kids can help stir, pour, and decorate the bars safely.
Conclusion
Creating your own Homemade Chocolate Bars Recipe is both fun and rewarding. You get full control over flavors, sweetness, and textures while enjoying a hands-on culinary adventure. Share your creations on social media with friends and family or use them as heartfelt gifts. Unlock the joy of scratch-made chocolate and indulge in the rich, creamy delight only homemade bars can offer!