Homemade Delicious Chocolate Ice Cream Bars Recipe
Introduction
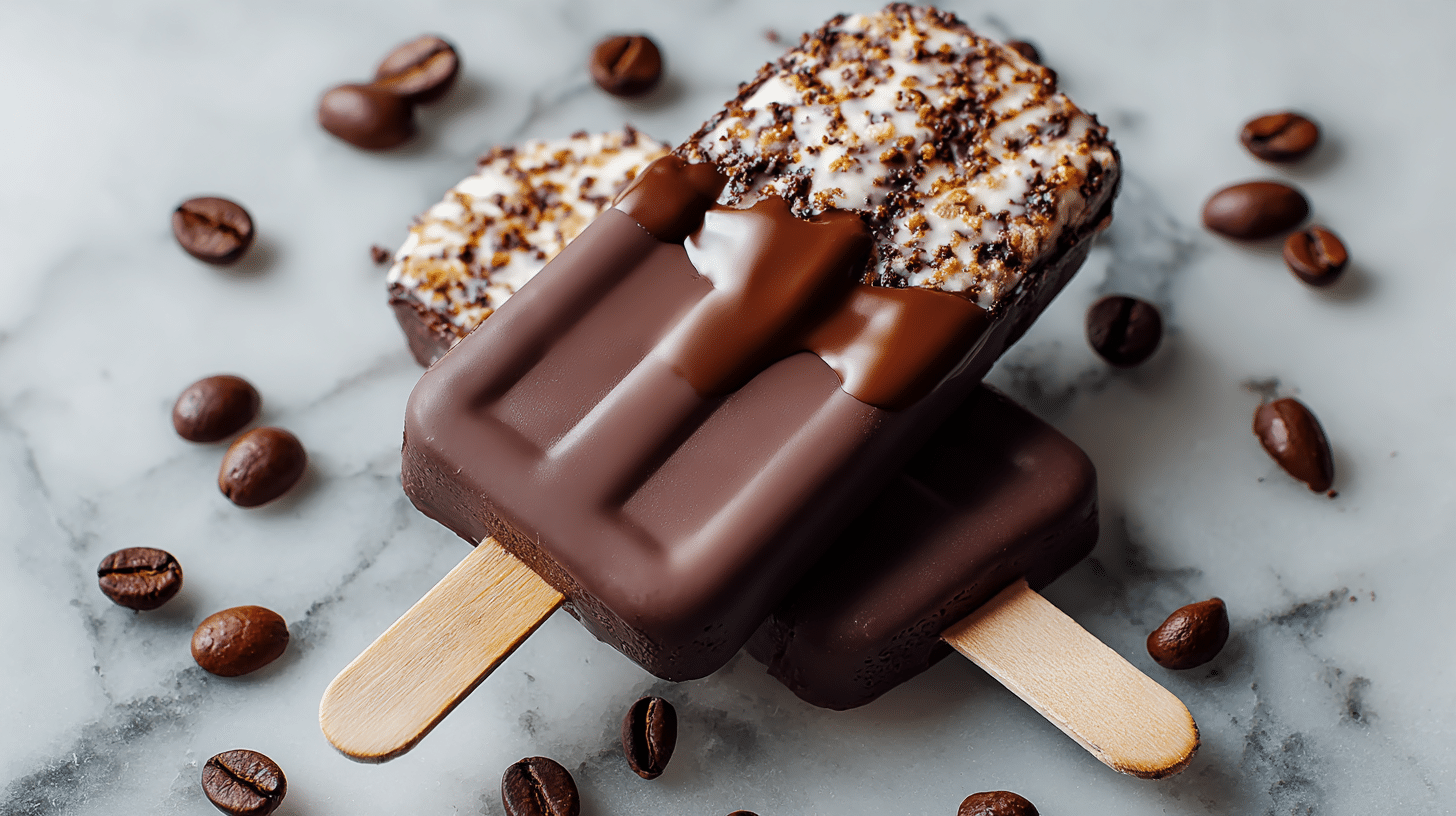
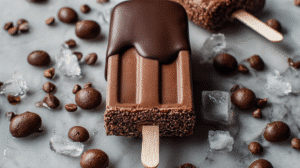
Homemade Delicious Chocolate Ice Cream Bars Recipe brings the joy of childhood nostalgia and creamy chocolate indulgence straight to your freezer. Imagine biting into a smooth, fudgy interior wrapped in a glossy chocolate shell that crackles perfectly with every taste. This recipe turns your kitchen into an ice cream shop—no fancy equipment required. Whether you’re craving a rich and creamy homemade chocolate ice cream bar after dinner or planning a frozen treat for a summer party, this guide will show you exactly how to make them effortlessly.
Get ready to discover the science of creaminess, expert freezing tips, and the secret to achieving that store-bought snap without preservatives or additives.
Why You’ll Love This Recipe
-
Ultra-Creamy Texture: Thanks to the perfect balance of heavy cream and milk.
-
Deep Chocolate Flavor: Real cocoa and melted chocolate create a decadent richness.
-
Easy & No-Churn: No ice cream machine needed—just simple molds.
-
Customizable: Add nuts, caramel drizzle, or crushed cookies.
-
Budget-Friendly: Make 6–8 bars for less than half the store cost.
-
Kid-Approved Treat: Loved by all ages, from toddlers to adults.
-
Perfect for Summer: Refreshing, cold, and utterly satisfying.
-
Make-Ahead Friendly: Keep in the freezer for up to 2 months.
Ingredients
Ice Cream Base
-
2 cups heavy cream – for that luxurious texture and rich flavor.
-
1 cup whole milk – balances creaminess with lightness.
-
¾ cup granulated sugar – sweetens and keeps the mixture soft.
-
½ cup unsweetened cocoa powder – gives authentic chocolate depth.
-
1 teaspoon vanilla extract – enhances the chocolate aroma.
-
¼ teaspoon salt – amplifies the sweetness and cocoa tones.
Chocolate Coating
-
2 cups semisweet chocolate chips – for a smooth, glossy finish.
-
2 tablespoons coconut oil – thins the coating and creates a perfect shell.
How to Make Homemade Delicious Chocolate Ice Cream Bars Recipe
Step 1: Prepare the Ice Cream Mixture
In a medium saucepan, whisk heavy cream, milk, sugar, cocoa powder, vanilla, and salt over medium heat. Stir constantly for about 5 minutes until the sugar dissolves and cocoa is fully blended. Do not boil—overheating causes a grainy texture.
🧠 Food Science Insight: Heating just enough helps dissolve sugar and bloom the cocoa, intensifying the chocolate flavor while maintaining smooth consistency.
Step 2: Cool the Mixture
Remove from heat and allow it to cool completely to room temperature. This cooling step prevents ice crystals from forming when freezing.
Step 3: Freeze in Molds
Pour the cooled mixture into ice cream bar molds, insert wooden sticks, and freeze for at least 6 hours or overnight.
Step 4: Make the Chocolate Coating
Melt chocolate chips and coconut oil together in a microwave-safe bowl, heating in 30-second bursts and stirring until silky smooth. Allow to cool slightly—still pourable but not hot.
Step 5: Dip & Set
Remove bars from molds and quickly dip each into the melted chocolate. Let excess drip off, then place them on parchment-lined trays. Freeze again for 15–20 minutes to harden the coating.
🎉 Result: Smooth, snappy, and deliciously rich homemade chocolate ice cream bars ready to enjoy anytime!
Pro Tips for Perfect Chocolate Ice Cream Bars
How do I make my chocolate coating shiny and smooth?
Use coconut oil or refined cocoa butter in your melted chocolate. This helps create a glossy, professional finish that snaps beautifully.
Can I make chocolate ice cream bars without molds?
Absolutely! Pour the mixture into a loaf pan, freeze, then cut into rectangles before dipping in chocolate.
Why is my chocolate coating cracking or too thick?
The chocolate may have cooled too much or been over-tempered. Keep it slightly warm (around 90°F/32°C) and stir constantly for an even dip.
Best Ways to Serve
-
Enjoy as a post-dinner dessert on hot summer nights.
-
Serve alongside Frozen Chocolate Dessert Bars or Creamy Chocolate Ice Cream Pops for a party platter.
-
Pair with a drizzle of salted caramel or a sprinkle of crushed pistachios for a gourmet twist.
-
Nutrition Information (Per Bar)
-
Calories: 320 kcal
-
Fat: 24 g
-
Saturated Fat: 14 g
-
Carbohydrates: 25 g
-
Sugar: 22 g
-
Protein: 4 g
-
Sodium: 80 mg
Storage & Leftovers
-
Freezer: Store in an airtight container or wrap individually in parchment and keep frozen up to 8 weeks.
-
Serving Tip: Let bars sit at room temperature for 2–3 minutes before serving for the perfect creamy bite.
-
Avoid: Refreezing melted bars—it affects the texture and coating.

FAQs
Can I make these ice cream bars without an ice cream maker?
Yes! This Homemade Delicious Chocolate Ice Cream Bars Recipe is completely no-churn. Freezing in molds does all the work.
What type of chocolate works best?
Use high-quality semisweet or dark chocolate chips—they melt smoothly and give a rich coating. Avoid milk chocolate, which melts unevenly.
How do I make these bars vegan?
Swap dairy for coconut milk or oat cream, and use vegan chocolate chips. The texture remains silky and indulgent.
Can I flavor the base differently?
Yes! Add espresso powder for mocha bars, peppermint extract for mint chocolate, or crushed almonds for nutty crunch.
Variations
-
Chocolate Fudge Ice Cream Bars: Swirl in fudge sauce before freezing.
-
Chocolate Covered Ice Cream Sticks: Add sprinkles or crushed nuts after dipping.
-
No-Churn Chocolate Ice Cream Bars: Skip the stove, blend ingredients, and freeze directly.
-
Healthy Chocolate Ice Cream Bars: Use honey or coconut sugar instead of refined sugar.
-
Vegan Version: Use coconut cream and dairy-free chocolate.
Conclusion
This Homemade Delicious Chocolate Ice Cream Bars Recipe is more than just a frozen dessert—it’s a nostalgic trip back to classic chocolate joy, with a homemade twist that’s creamier, cleaner, and absolutely irresistible. Whether you serve them at a summer gathering or enjoy one after dinner, every bite feels like a moment of pure indulgence.