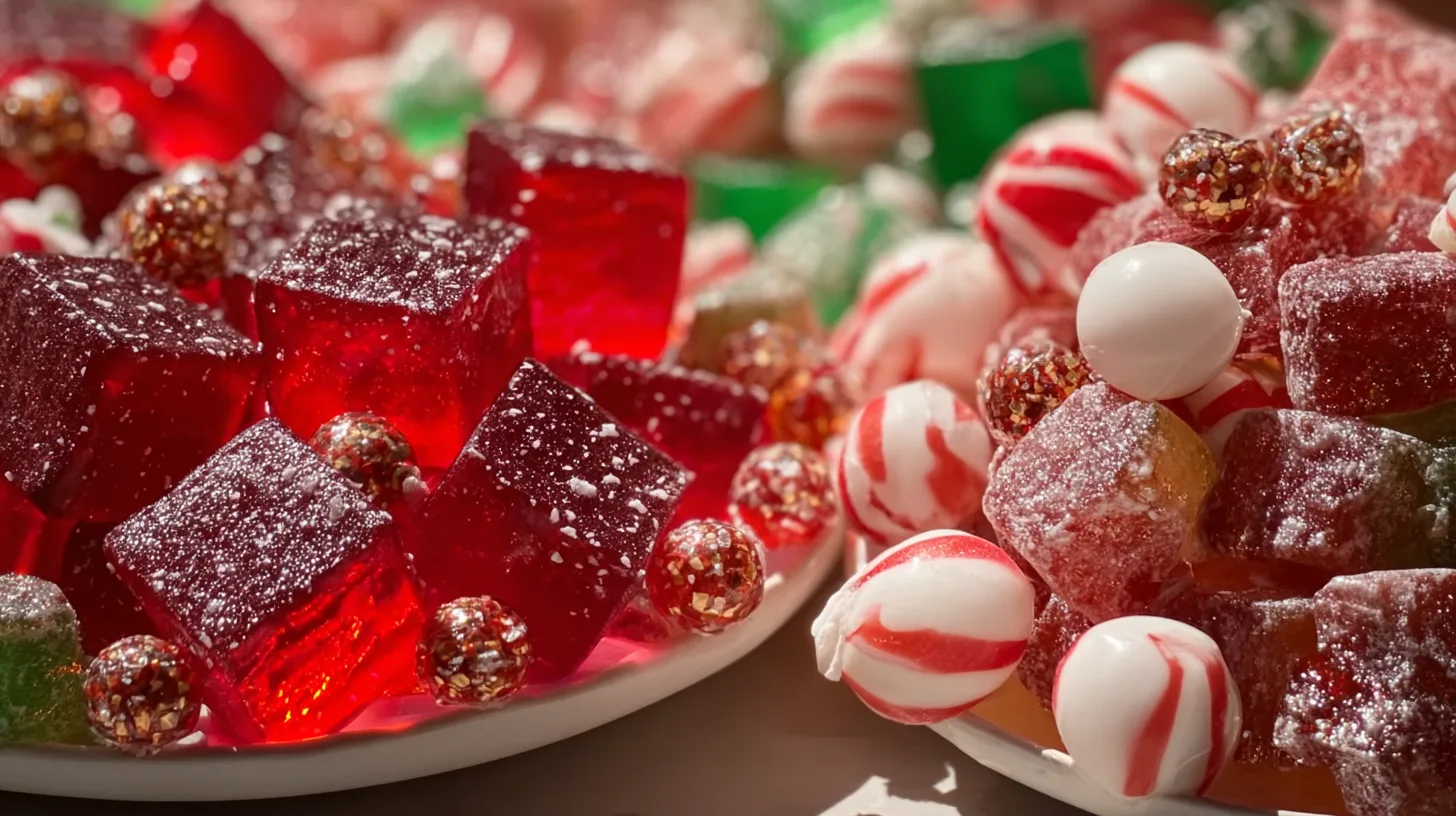
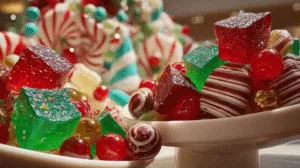
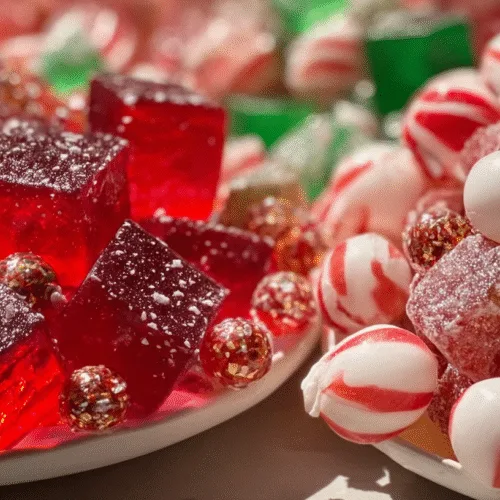
Jingle Bell Rock Candy Display
Introduction
Sparkling, colorful, and irresistibly festive, a Jingle Bell Rock Candy Display instantly transforms any holiday table into a joyful centerpiece. The glossy crystals catch the light, the candy hues echo classic Christmas colors, and the entire display feels playful yet elegant. This recipe stands out because it blends edible décor with hands-on creativity, making it perfect for parties, gifting, or family traditions. A Jingle Bell Rock Candy Display brings together sweetness and sparkle in a way few treats can. You’ll learn how to craft, style, and present this showstopping holiday candy with confidence.
Why You’ll Love This Recipe
This recipe offers more than candy. It creates a full sensory experience. The crunch of rock candy contrasts beautifully with smooth glass jars and shiny bells, while the bright reds, greens, and whites instantly signal celebration. You’ll love how flexible the Jingle Bell Rock Candy Display can be, whether you want a bold Christmas candy centerpiece or a subtle holiday rock candy display for a buffet table. The process feels simple and rewarding, even for beginners. No advanced candy skills are required, and the results look professionally styled. Best of all, this recipe doubles as décor and dessert, saving time while delivering serious visual impact.
Ingredients
To build a stunning Jingle Bell Rock Candy Display, you’ll need a short list of simple supplies.
-
4 cups (800 g) granulated sugar for crystal formation
-
1 cup (240 ml) water to dissolve the sugar
-
Gel food coloring in red, green, and clear for classic holiday tones
-
1 teaspoon (5 ml) flavor extract such as peppermint, cherry, or vanilla
-
6 wooden skewers or cotton strings for crystal growth
-
6 small glass jars or heat-safe cups (240–300 ml each)
-
1 cup (150 g) jingle bell candies or chocolate bells for décor
-
Optional edible glitter or sanding sugar for extra sparkle
Each ingredient contributes to the shine, structure, and festive feel of the final display.
Pro Tips
Temperature control matters. Dissolve the sugar completely in hot water to ensure smooth crystal growth. Stir steadily and avoid splashing, which can cause grainy candy.
Choose the right container. Clear glass jars show off the crystal structure and color best, elevating the look of your Jingle Bell Rock Candy Display.
Patience pays off. Let the candy crystals form undisturbed for several days. Movement can interrupt growth and reduce sparkle. Cover jars lightly with paper towels to keep dust away while allowing airflow.
Instructions
Step 1
Heat the water in a medium saucepan over medium heat. Once warm, slowly add the sugar while stirring constantly. Keep stirring until the liquid turns clear and no sugar grains remain. This creates a fully saturated syrup.
Step 2
Remove the saucepan from heat and allow the syrup to cool for 10 minutes. Stir in your chosen flavor extract. Divide the syrup evenly into separate heat-safe jars.
Step 3
Add gel food coloring to each jar. Use a toothpick for precise control, creating vibrant red, green, or clear batches. Stir gently to distribute color without introducing air bubbles.
Step 4
Prepare the skewers or strings. Dip each into the syrup, then roll lightly in granulated sugar. This step seeds the crystals and speeds up formation.
Step 5
Place one skewer or string into each jar, suspending it in the center without touching the sides. Use clothespins or clips to hold them steady.
Step 6
Set the jars in a quiet, room-temperature area. Leave them undisturbed for 3 to 5 days as crystals form and grow.
Step 7
Once the crystals reach your desired size, remove them from the jars and place them on parchment paper to dry for 1 hour.
Step 8
Arrange the finished rock candy sticks in decorative jars or vases. Scatter jingle bell candies around the base to complete your Jingle Bell Rock Candy Display.
Variations
Create a peppermint-forward version by using red and white candy with peppermint extract for a classic Christmas candy centerpiece. For a modern look, try a monochrome holiday rock candy display using clear crystals and silver bells. You can also make a kid-friendly version with bright rainbow colors and fruity flavors. Dietary needs are easy to accommodate since this recipe is naturally gluten-free and vegan, making it suitable for most guests.
Storage and Serving
Store finished rock candy sticks in airtight containers at room temperature for up to 3 weeks. Keep them dry to preserve their shine and crunch. For serving, place the Jingle Bell Rock Candy Display in the center of a dessert table, or use individual sticks as drink stirrers for hot cocoa. You can also wrap each stick in clear cellophane and tie with ribbon for festive party favors.
FAQs
How long does rock candy take to form?
Most crystals form within 3 to 5 days, depending on temperature and humidity.
Can I use liquid food coloring?
Yes, but gel coloring gives stronger color without thinning the syrup.
Why are my crystals small?
The syrup may not have been fully saturated or the jars may have been disturbed.
Is this safe for kids to help with?
Kids can help decorate, but adults should handle the hot syrup.
Can I reuse leftover syrup?
You can reheat and reuse it, but crystal quality may vary.
Conclusion
This Jingle Bell Rock Candy Display is comfort food at its finest — sweet, sparkling, and designed to double as edible décor that lights up your holiday table. It’s the kind of dish that brings people together, sparks conversation, and turns simple ingredients into a festive tradition worth repeating every season.
Jingle Bell Rock Candy Display
Ingredients
4 cups granulated sugar
1 cup water
Gel food coloring in red, green, and clear
1 teaspoon flavor extract of choice
6 wooden skewers or cotton strings
6 small glass jars
1 cup jingle bell candies
Optional edible glitter or sanding sugar
Instructions
- Heat water and dissolve sugar completely to form a clear syrup.Cool slightly, then stir in flavor extract.Divide syrup into jars and add food coloring.Dip skewers in syrup, roll in sugar, and suspend in jars.Let crystals grow undisturbed for 3 to 5 days.Remove candy, dry briefly, and arrange into a festive display.