Zombie Dirt Pudding Cups — Easy No-Bake Halloween Dessert
Halloween is right around the corner, and that means it’s time for spooky sweets that are just as fun to look at as they are to eat. This article will walk you through everything about Zombie Dirt Pudding Cups — from the classic recipe to clever variations, storage hacks, and kid-friendly decoration ideas. You’ll also find handy tips, FAQs, and even a little background on where the famous dirt dessert came from. By the end, you’ll be armed with all the tricks (and treats) to make this no-bake Halloween dessert the star of your party.
Why Zombie Dirt Pudding Cups Are the Perfect Halloween Treat
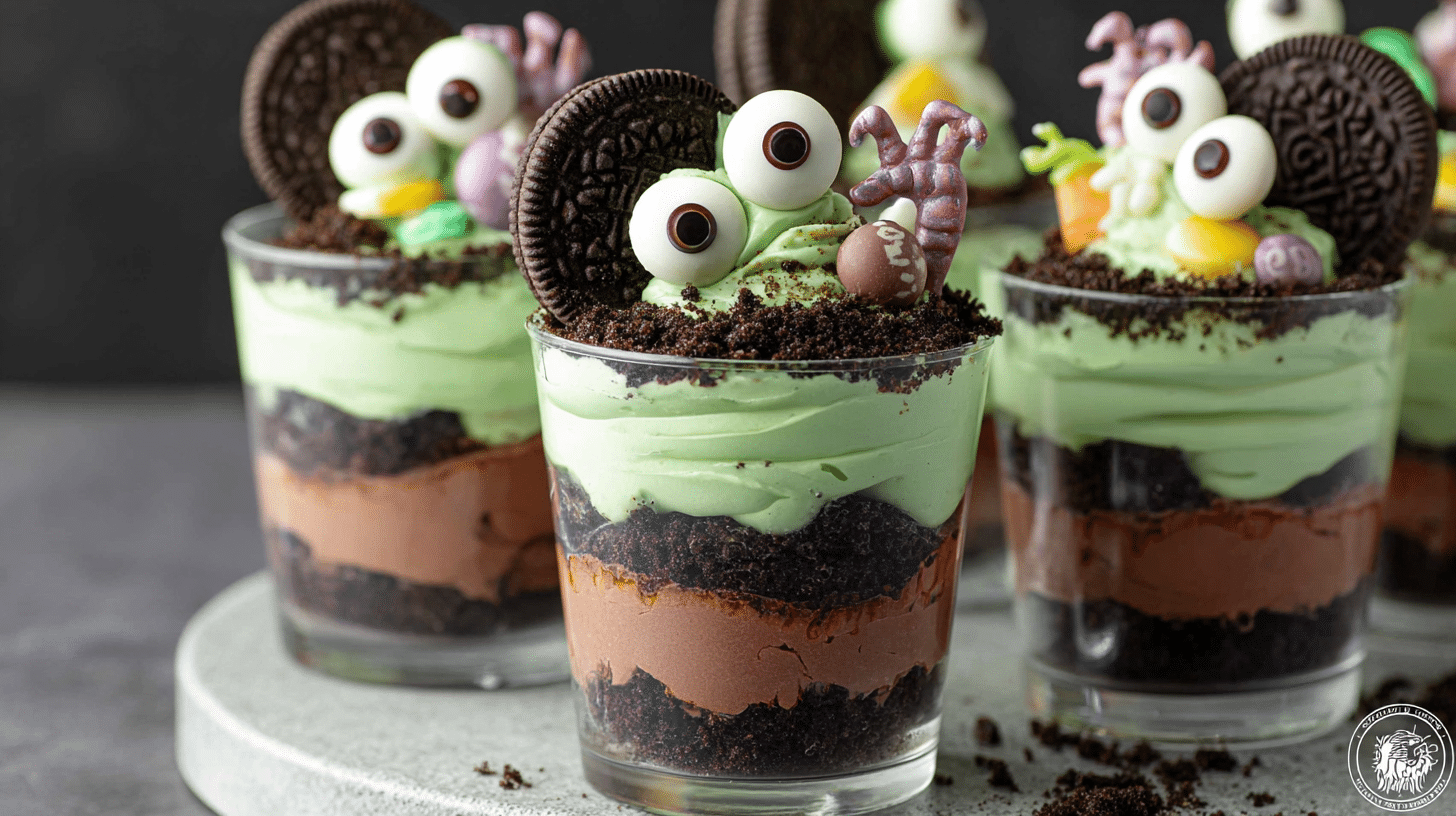
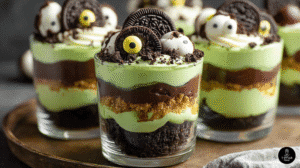
If you’re hunting for a treat that screams spooky without making you sweat in the kitchen, look no further than Zombie Dirt Pudding Cups. These no-bake desserts combine crushed Oreos (a.k.a. the “dirt”), creamy pudding, and fluffy whipped topping, then finish with creepy candy eyeballs and gummy worms that bring the zombie theme to life.
Unlike complicated cakes or pies, these pudding cups require no oven time and can be assembled in minutes. Kids love the eerie decorations, while adults appreciate how easily you can make them ahead of time. Plus, they’re versatile — you can whip up a single batch for family fun or layer them in a trifle dish for a graveyard party centerpiece.
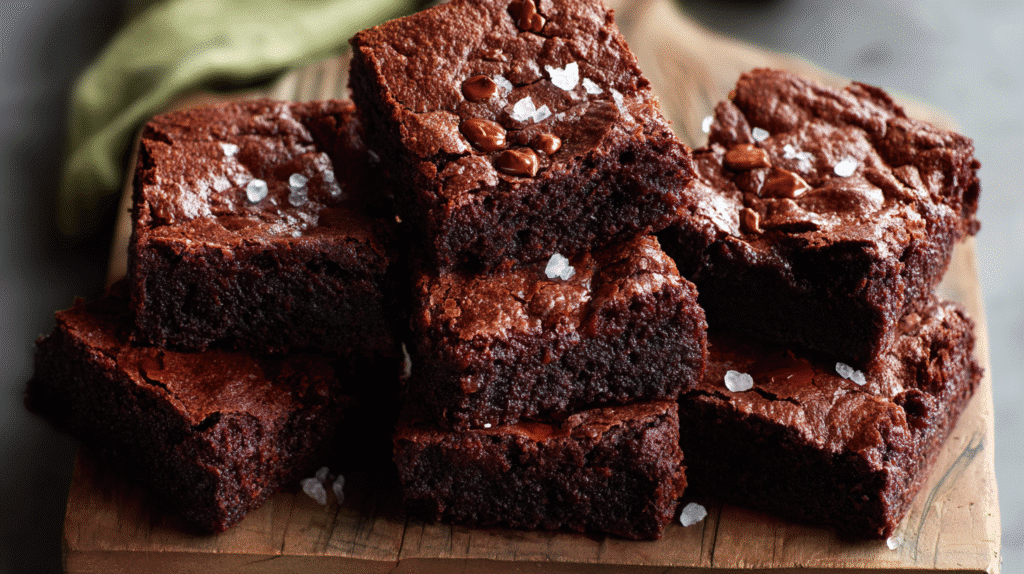
Looking for more creepy-sweet inspo? Try these Halloween Brownies to try in 2025 for another spooky, fudgy treat.
Ingredients
To make these Zombie Dirt Pudding Cups, you’ll only need a handful of everyday ingredients. The magic comes from layering them in just the right way to create that spooky, dirt-like effect with a gooey, pudding surprise inside.
-
18–20 Oreo cookies (Mint Oreos if you want a natural green vibe; regular Oreos work too)
-
1 box instant pudding mix (3.3 oz vanilla, white chocolate, or chocolate flavor)
-
2 cups cold whole milk
-
1 container Cool Whip (8 oz, thawed) or homemade whipped cream
-
Green gel food coloring (just a drop or two for zombie-green pudding)
-
Candy eyeballs (essential for the zombie look)
-
Gummy worms, bone sprinkles, or spooky candy toppers
Pro tip: Keep a few whole cookie halves aside to create zombie “faces.”
Equipment You’ll Need
No need to dig through your pantry for fancy gadgets — a few basic tools will do the trick:
-
Food processor or a sturdy zip-top bag + rolling pin (for crushing cookies)
-
8–12 clear plastic cups, mason jars, or dessert glasses
-
1 large mixing bowl
-
Whisk (to mix pudding)
-
Spatula (for folding in the whipped topping)
-
Refrigerator space (to chill the cups before serving)
How to Assemble Your Zombie Dirt Pudding Cups
Here’s where the fun begins! Let’s layer these creepy cups step by step.
-
Crush the cookies
Toss Oreos into a food processor and blitz until fine crumbs. If you’re old-school, place them in a zip-top bag and smash with a rolling pin. Reserve a few halves for zombie toppers. -
Prepare the pudding
In a large bowl, whisk pudding mix with cold milk for 2 minutes. Let it rest 3–5 minutes until thickened. If you want zombie-green, stir in a drop of gel food coloring — keep in mind the Cool Whip will lighten the shade. -
Fold in whipped topping
Gently fold the whipped topping into the pudding until smooth and fluffy. Overmixing can deflate it, so go easy here. -
Layer the cups
Spoon about 2 tablespoons of crushed cookies into each cup, followed by a layer of pudding. Repeat until the cups are nearly full, ending with a layer of cookie crumbs on top. -
Chill
Pop the cups in the fridge for at least 1 hour. This gives the pudding time to set and the flavors to mingle. -
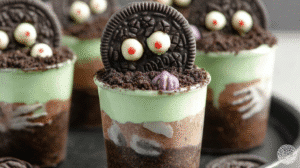
Decorate and spookify
Stick a reserved cookie half into each cup, add candy eyeballs, scatter gummy worms, and finish with sprinkles or bone candies. The creepier, the better!
Quick hack: Want extra crunch? Sprinkle a fresh layer of cookie crumbs right before serving so it doesn’t get too soft in the fridge.
If you love quick recipes like this, check out the 10 Minute Honey Garlic Shrimp for a savory contrast.
Variations — Flavour & Theme Ideas
Don’t feel boxed in by the “classic” recipe. These pudding cups are insanely flexible, so here are a few spooky spins:
-
Minty Zombie Cups — Use Mint Oreos for a natural green crumb that pairs perfectly with vanilla pudding.
-
Classic Chocolate Dirt — Swap in chocolate pudding and regular Oreos for a richer, darker “graveyard soil.”
-
Graveyard Trifle — Scale up and build layers in a big trifle bowl. Add cookie tombstones with “RIP” piped in frosting for a centerpiece effect.
-
Creepy Crawlers — Load up on gummy worms, gummy spiders, or even sour snakes to amp up the ick factor.
-
Allergy-friendly versions — Try gluten-free sandwich cookies or a dairy-free pudding mix with coconut whipped cream.
Oh, and here’s a fun one: tint each layer a different eerie color (purple, green, black) to make a “zombie rainbow.”
For another layered showstopper, peek at this festive Christmas Pavlova Trifle that’s just as eye-catching but with holiday flair.
Tips for Perfect Texture & Color
-
Whole milk works best — It makes the pudding creamier and helps it set properly.
-
Thaw whipped topping fully — Cold lumps of Cool Whip won’t blend well into pudding.
-
Don’t overfold — Mix gently; you want fluffy pudding, not soup.
-
Color smart — Use gel food coloring for vibrant green shades without watering down the pudding.
-
Extra crunch — Right before serving, add a last sprinkle of cookie crumbs on top so the “dirt” looks fresh and crunchy.
Make-Ahead & Storage — How Far Ahead You Can Prepare
Hosting a Halloween party? You can absolutely make these in advance:
-
24 hours ahead — Best for taste and texture. Assemble the cups but leave candy eyes or gummy worms off until right before serving.
-
Up to 2 days — Still tasty, though cookie crumbs may soften. Keep them tightly covered in the fridge.
-
After 48 hours — Edible, but the presentation starts to slip. For the best wow-factor, stick to the first two options.
Food Safety Note: Since these cups use milk and whipped topping, they need to be stored cold. Don’t let them sit out longer than 2 hours at room temperature — and if your party’s outdoors in summer-like heat (above 90°F), that window shrinks to just 1 hour.
Decoration Ideas — Spooky Toppers & Edible Props
Now comes the fun part: making these cups look like they crawled out of a haunted graveyard. Here are some fang-tastic ideas:
-
Zombie cookies — Press candy eyeballs onto Oreo halves, then stick them upright like zombie heads peeking from the dirt.
-
Creepy crawlies — Gummy worms, spiders, or snakes slithering out of the crumbs.
-
Edible bones — White chocolate or candy bone sprinkles for extra spook factor.
-
Tombstones — Use rectangular cookies, pipe “RIP” in frosting, and tuck them into the top layer.
-
Slime effect — Drizzle green candy melts or tinted white chocolate for an oozy, zombie vibe.
Want more inspiration? Think like a kid — if it would gross them out in the best way, it probably works here!
Presentation & Party Setup
Half the magic is in the reveal. Serve these cups in clear plastic cups or glass jars so guests can see the layers of “dirt” and pudding.
For Halloween flair:
-
Arrange them on a black tray sprinkled with cookie crumbs.
-
Add little plastic skeleton hands or mini shovels as spoons.
-
For classroom parties, cover each cup with plastic wrap and stack neatly in a cooler until serving.
A quick visual trick: line your table with a grass-textured mat or dark cloth so it feels like a mini graveyard scene.
Serving Suggestions & Pairings
These cups are rich and sweet, so balance them with lighter or savory nibbles on your party spread:
-
Pair with apple slices and caramel dip.
-
Serve alongside warm drinks like cocoa or cider for a cozy vibe.
-
Offer salty finger foods (pretzels, cheese cubes, or popcorn) so the sweetness doesn’t overwhelm.
Tip: Portion control matters, especially for little goblins. Small 6–8 oz cups are perfect.
Kid-Friendly & Allergen Swaps
Halloween parties often mean feeding a crowd, and that crowd may include kids with allergies. Here’s how to make your Zombie Dirt Pudding Cups inclusive:
-
Gluten-free — Use gluten-free sandwich cookies.
-
Dairy-free — Pick coconut milk pudding mixes and dairy-free whipped cream alternatives.
-
Nut-free — Stick with candies and toppings clearly labeled nut-free.
Need more crowd-pleasing ideas? These Garlic Butter Steak Bites with Mashed Potatoes are hearty, savory, and balance out sweet party treats perfectly.
❓ Frequently Asked Questions About Zombie Dirt Pudding Cups
Can I make Zombie Dirt Pudding Cups ahead of time?
Absolutely! These creepy treats can be prepped up to 24 hours in advance. Just keep them chilled in the fridge and wait to add gummy worms or candy eyes until right before serving.
How do I keep the cookie crumbs from getting soggy?
-
Add crumbs on top right before serving.
-
Use slightly less milk in the pudding.
-
Store cups airtight to prevent moisture.
Can I make Zombie Dirt Cups without pudding mix?
Yep! Try chocolate mousse, custard, or cocoa-flavored Greek yogurt for different textures.
Are Zombie Dirt Pudding Cups kid-friendly?
Totally. They double as a no-bake craft activity that kids can help assemble.
Can I use gluten-free or dairy-free ingredients?
Of course — swap Oreos for gluten-free cookies, almond/oat milk for dairy milk, and coconut whipped cream for Cool Whip.
How do I decorate them to look extra scary?
Add candy bones, skull sprinkles, or licorice strips as zombie guts. You can even swirl green whipped cream for a slime effect.
Conclusion
And there you have it — Zombie Dirt Pudding Cups that are creepy, creamy, and crazy easy to pull together. They’re proof that you don’t need a cauldron or a spellbook to whip up a Halloween showstopper.
Now it’s your turn: grab some Oreos, pudding, and candy eyes, then let your imagination run wild. Whether you keep it classic or load them with gummy critters, these cups will steal the spotlight on any spooky spread.